
Email sender (SMTP) using PIC18F27J53 and ENC28J60
The demonstration of a short mail using SMTP.
The first report was uploaded on the birthday of Hirohito Tenno, the Emperor of Japan.
The improved project was uploaded on Jun 1, in 2017.
<< Introduction in Japanese >>
Ethernet board を用いた最初の実験として、ショート・メールの送信を選んだ。実験用プログラムは TCP/IP スタック (Microchip Libraries for Applications v2013-06-15) 中の Demo App を利用した。メール送信は SMTPDemo.c で実行する。
スイッチを押して LED1 が点灯すると、送信準備の状態でプログラムが停止している事を表す。スイッチを離すとメール送信が実行され、完了すると LED1 は消灯する。
追加:
アカウント情報と送信メール内容を変更する度に source code を書き換えるのは煩わしい為、Table write operation を利用して USB 接続した PC 上のターミナルソフトから ROM 内容を書き換える機能を追加した。
The Ethernet board was previously reported in my page on Apr. 23, 2017.
If the switch (BUTTON0) is pushed and released, the massage will be send to the preset address using SMTPDemo.c.
<< Sample code of E-mail sender >>

(Compiled by the C18 under the large code model on the MPLAB X IDE)
In TCPIPConfig.h, STACK_USE_ICMP_SERVER, STACK_USE_SMTP_CLIENT and STACK_USE_DNS must be defined.
Example above:
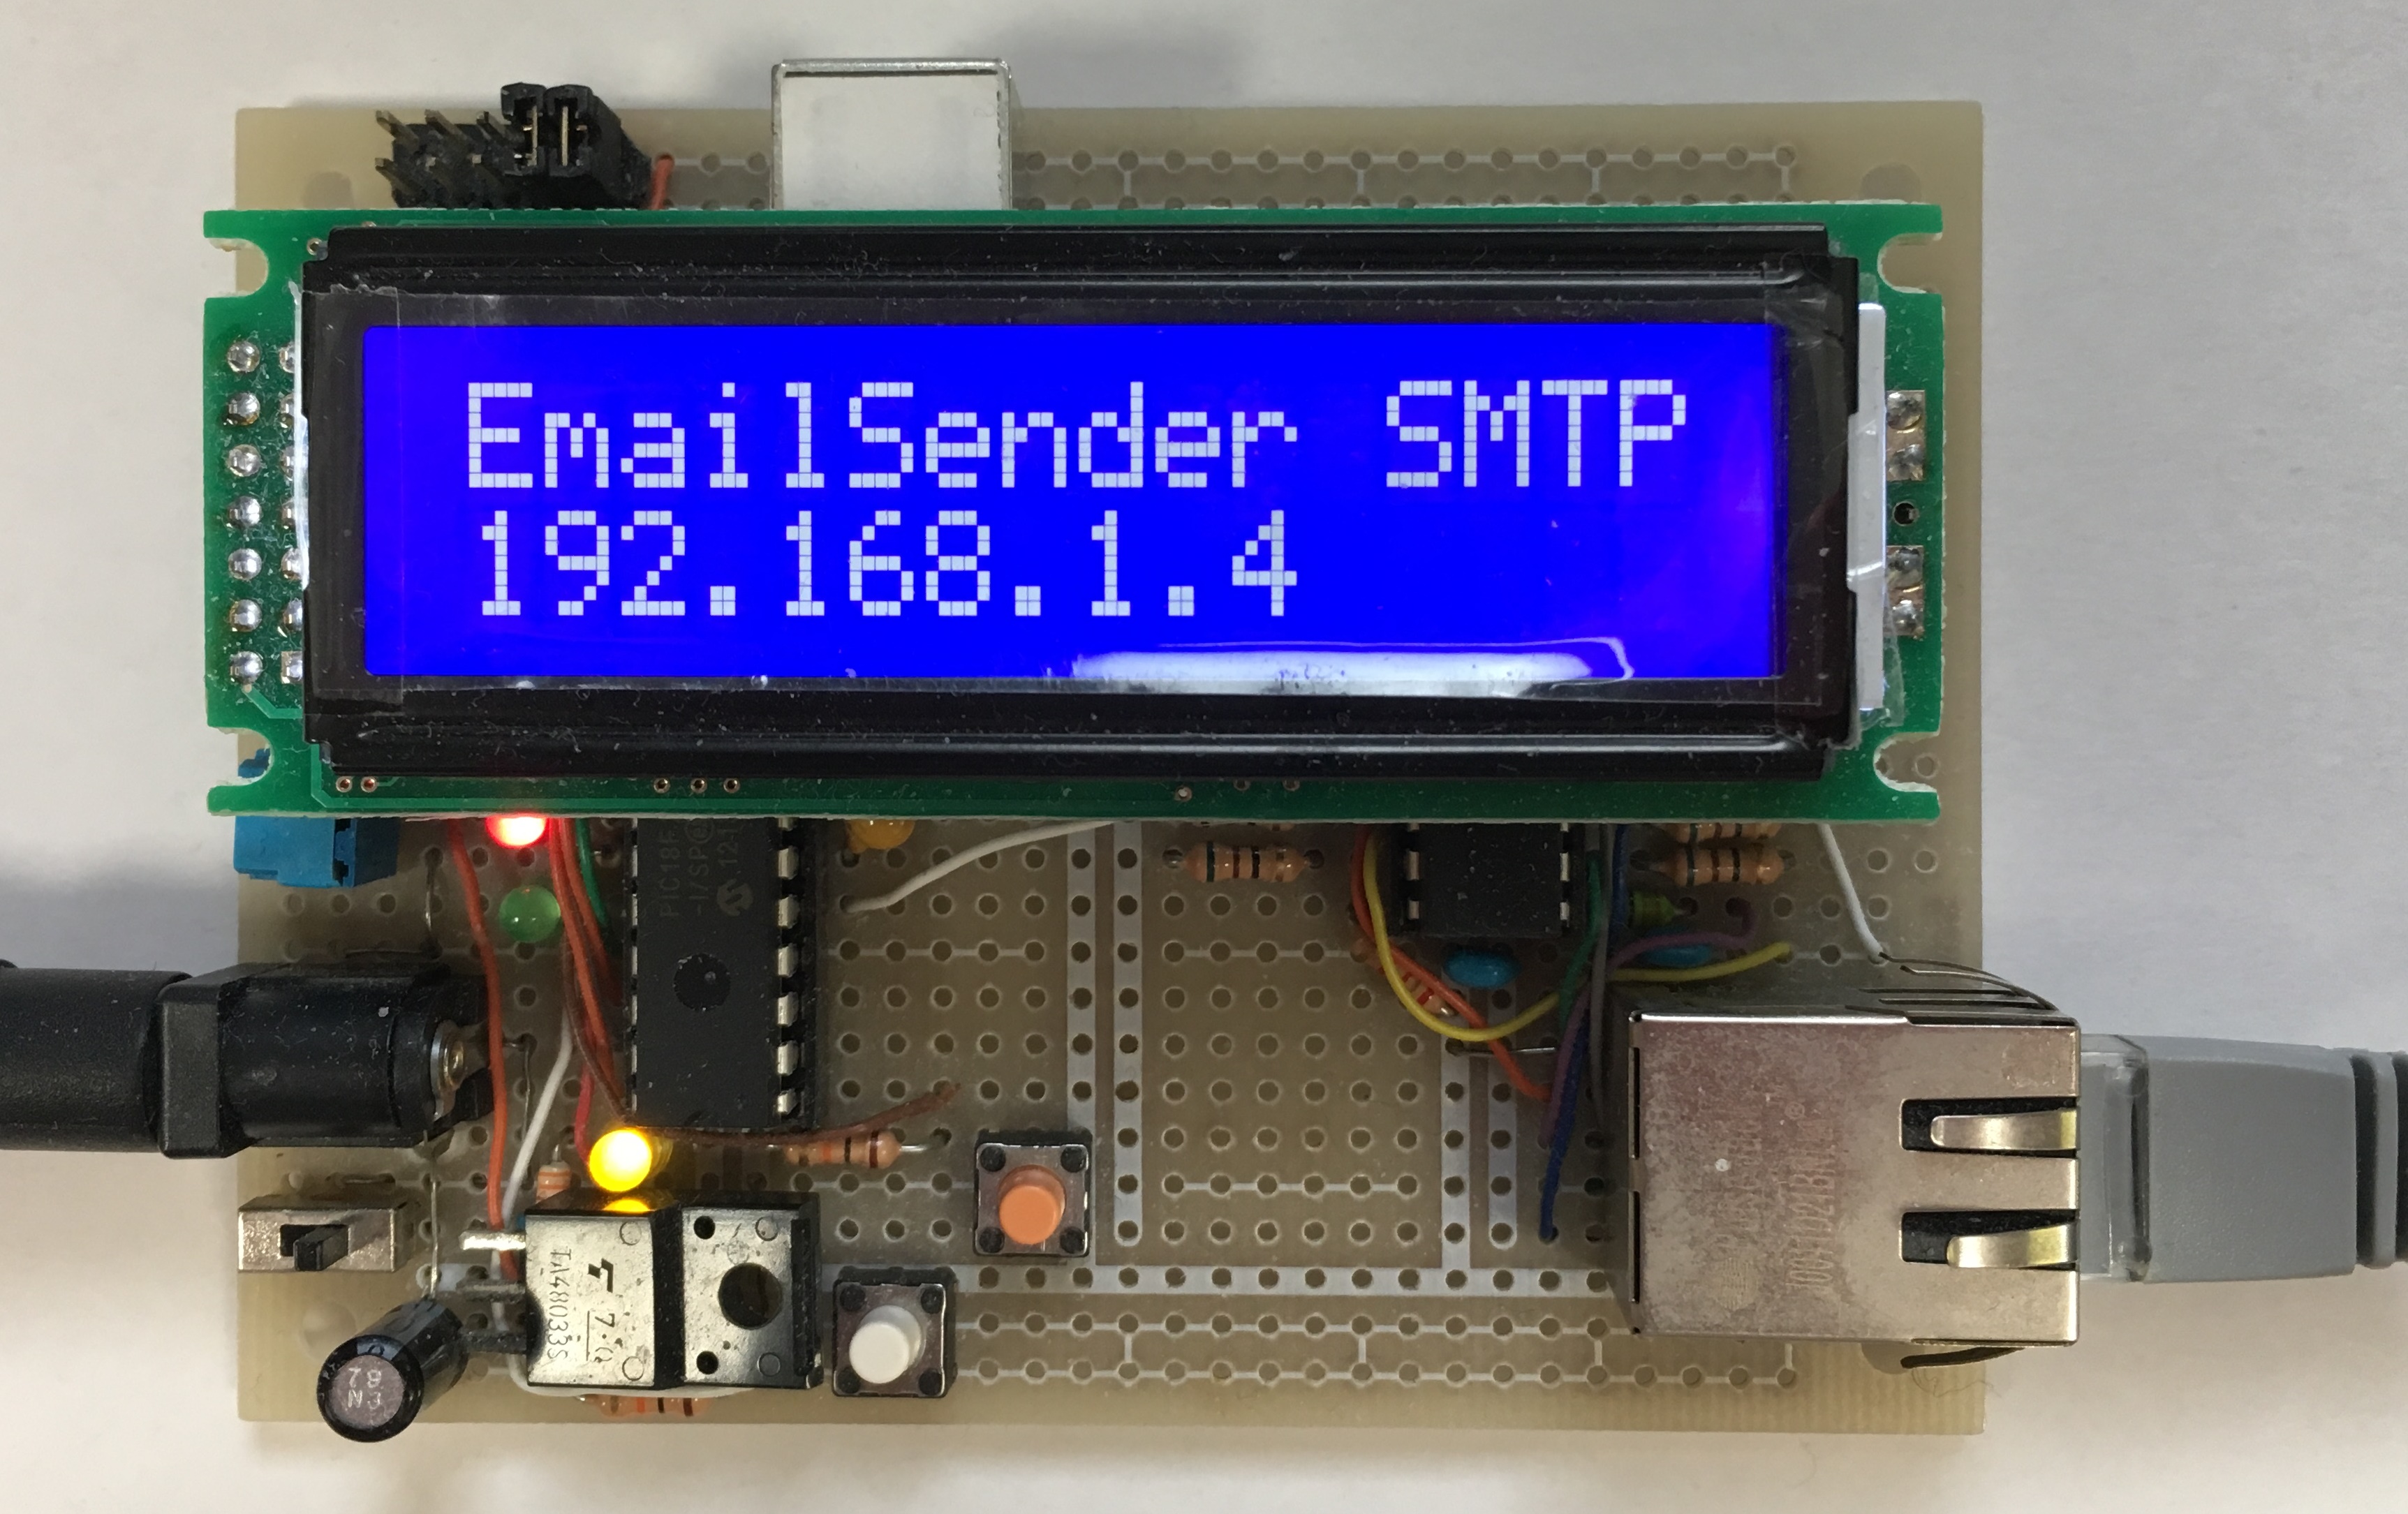
NetBIOS Name = PIC18F27J53
Default MAC address = {0x00, 0x04, 0xA3, 0x00, 0x00, 0x00}
Default IP address = 192.168.1.10
Default subnet mast = 255.255.255.0
Default primary DNS = 192.168.1.1
Default secondary DNS = 0.0.0.0
In SMTP.c, a SMTP port must be defined to be appropriate for your Internet Service Provider. In my project, the message submission Port(587) of the SMTP server is used.
In SMTPDemo.c, your data must be set adequately to the arrays bellow.
RAMStringTo[] = ” @ “; <— Destination mail address
RAMStringBody[] = “***”; <— Short character string
SMTPClient.Server.szROM = (ROM BYTE*)”***”;
SMTPClient.Username.szROM = (ROM BYTE*)”***”;
SMTPClient.Password.szROM = (ROM BYTE*)”***”;
SMTPClient.From.szROM = (ROM BYTE*)”\”SMTP Service\” < @ >”; < — Sender mail address
SMTPClient.Subject.szROM = (ROM BYTE*)”***”; <— E-mail tittle
(SMTPDemo.c ファイルに契約プロバイダのアカウント、宛先メール・アドレス、メール・タイトル、メール本文を設定。SMTP.c ファイルに SMTP ポートを設定。)
<< Improved code of E-mail sender >>
(The modified Hex file only)
The additional function is to code the mail and the account in the program memory using the table write operation. These data in the program memory is replaced with new ones which are transmitted using the USB CDC class, by a terminal software on your PC.
Step1: In the USB-Attached state, when the # is transmitted by a terminal software, the state will shift into the menu.
Step2: In the menu state, an input of the indicated numeral makes the state into the sub menu or the input mode of a new data.
Step3: In the input mode, a new data can be confirmed on the LCD. It is necessary that the number of revised characters is less than 64. When the # is received, the new string will be uploaded into the program memory area from 0x1F800 to 0x1F9BF. On the other hand, receiving the * aborts the operation.
* The main menu:
1) The sub menu 1 for the mail setting
2) The sub menu 2 for the account setting
3) The sub menu 3 for the local network setting
4) Confirmation of the data coded in the program memory
** The sub menu 1 for the mail setting:
1-1)Title
1-2)Body
1-3)Recipient e-mail address
1-4)Sender e-mail address
** The sub menu 2 for the account setting:
2-1)SMTP server
2-2)Port of SMTP server
2-3)User name
2-4)Password
** The sub menu 3 for the local network setting:
3-1) Local IP address
3-2) Subnet mask
3-3) Default gateway
3-4) Primary DNS server
** Confirmation of the data coded in the program memory.
If any ASCII data is transmitted by a terminal software using the USB CDC class, each 32 bytes will be displayed in turn. It is the 17 times that the start menu is called back.
Because the local network data and the port of SMTP server are not ASCII data, these values are not displayed correctly in the LCD. To confirm these, the ROM data must be derived from the PIC18F27J53 by the PICkit device.
<< メールおよびアカウントの書き換え手順 >>
Step1:USB 接続が認識された状態で PC 上のターミナルソフトを用いて # を送信すると、メニュー画面に移行。
Step2:メニューに表示された項目番号を入力すると、サブ・メニューに移行。
Step3:サブ・メニューで修正項目を選択すると、修正入力画面に移行
Step4:修正入力画面で新しいデータを入力。表示された文字列を ROM 領域に書き込むには # を、書き込みを中止するには * を入力。
* メイン・メニュー:
1)サブ・メニュー1:メール内容の設定
2)サブ・メニュー2:アカウントの設定
3)サブ・メニュー3:ローカル・ネットワークの設定
4)保存データの確認
** サブ・メニュー1:メール内容の設定
1-1)メール・タイトル
1-2)メール・本文
1-3)宛先アドレス
1-4)送信元アドレス
** サブ・メニュー2:アカウントの設定
2-1)送信サーバー名
2-2)送信サーバーのポート番号
2-3)ユーザー名
2-4)パスワード
** サブ・メニュー3:ローカル・ネットワークの設定
3-1)ローカル IP アドレス
3-2)サブネット・マスク
3-3)デフォルト・ゲートウェイ
4-4)プライマリ DNS サーバー
** 保存データの確認
任意の文字を入力する事で、保存データを先頭から 32 文字ずつ、順番に表示。1項目2回で合計17回キー入力すると初期画面に復帰。
ローカル・ネットワークの設定値と送信サーバーのポート番号は ASCII データではないので、LCD 上には正しく表示されない。これらの数値を確認する為には、PICkit でデータを読み出す必要がある。
補足:
メニューでは、項目番号以外のキーを入力すると初期画面に復帰。
各項目で保存可能なデータの文字数は 63 文字以内。
日本語ドメインには非対応。
保存 ROM 領域は、0x1F800 番地を先頭に 0x40 単位で配置。各領域の先頭アドレスから終端ヌル文字までが保存データ。
<< Summary in Japanese >>
ROM領域に確保できる範囲内で、設定した定型文を送信する事が確認できた。
ただし、ユーザー・アカウントの設定が間違っていても送信処理は進行して初期状態に戻るので、メールが届いているとは限らない。
組み込みシステムとしては十分な機能である。電子部品の集積・小型化と IT インフラの進歩に感銘をうけた。